How to Streamline Office Junk Removal for Maximum Efficiency
- Joe Lusso
- Feb 20
- 9 min read


Office cleanouts can quickly become overwhelming when clutter and outdated equipment threaten productivity. For Massachusetts commercial property managers and business owners, finding an efficient and eco-friendly junk removal solution is more than convenience—it safeguards workflow and supports responsible disposal. By focusing on systematic assessment and removal planning, you can organize the process, keep your space functional, and meet environmental goals without unnecessary disruption.
Table of Contents
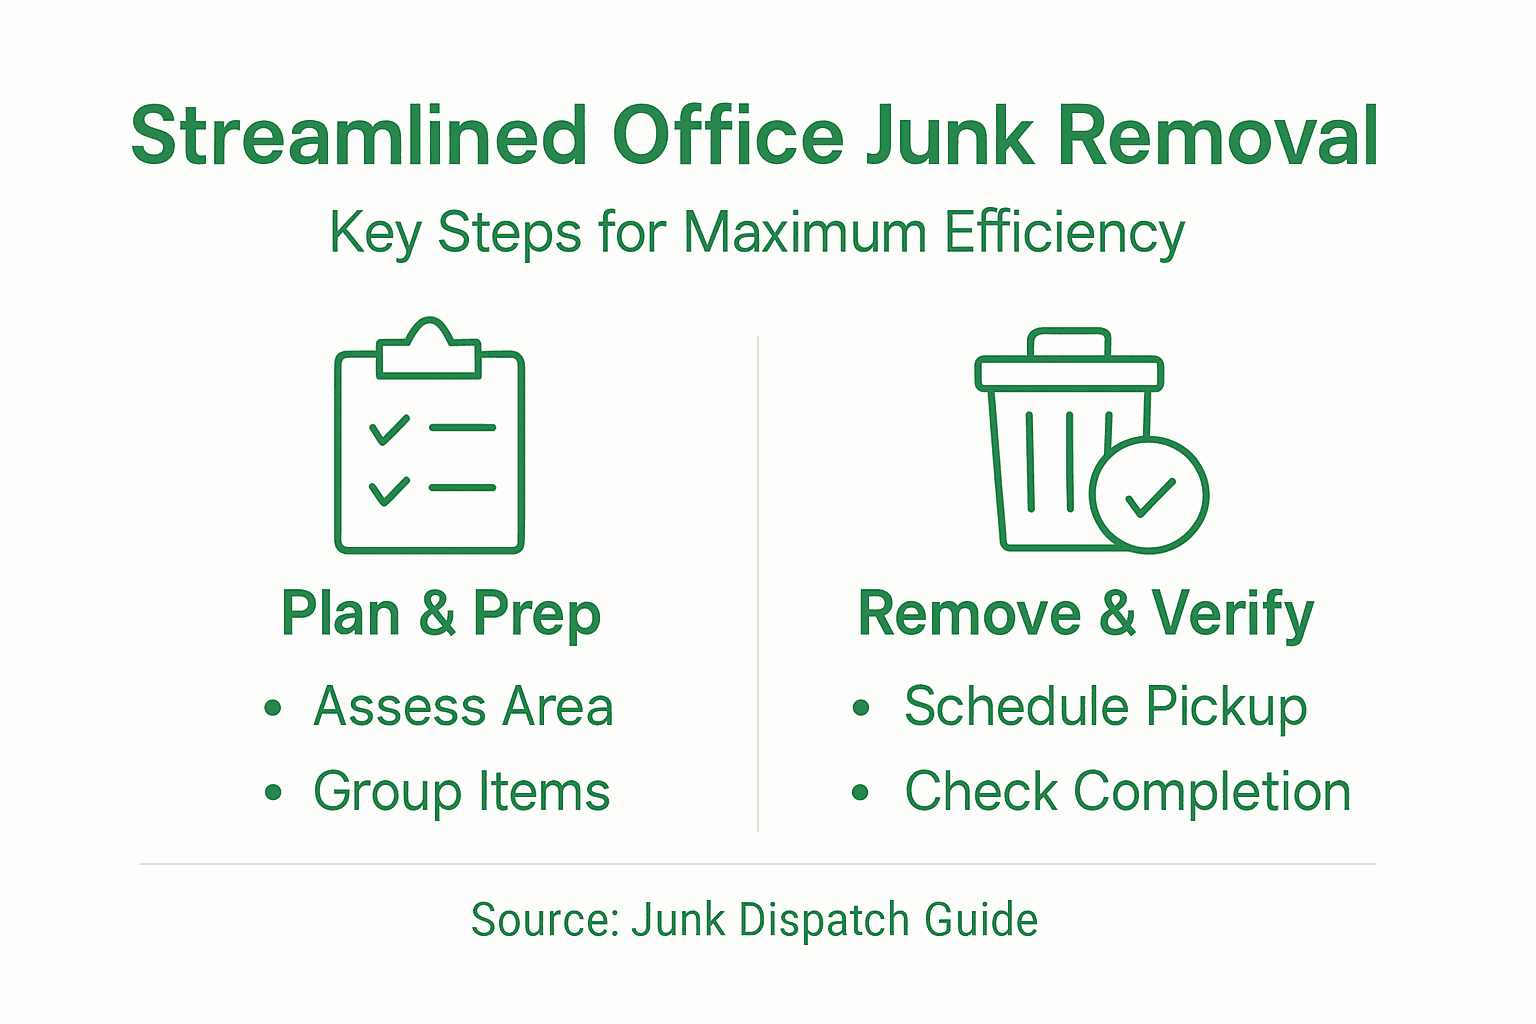
Summary of Key Insights
Essential Insight | Detailed Explanation |
1. Thoroughly Assess Before Removal | Conduct a complete inventory to understand what needs to be removed, categorized into groups for donation, recycling, or disposal. |
2. Create a Coordinated Removal Plan | Book Junk Dispatch considering your office schedule, ensuring minimal disruption during the removal process for maximum efficiency. |
3. Prepare the Workspace Properly | Clear pathways and protect floors to help the removal crew work efficiently, reducing the time needed for the process. |
4. Verify Everything After Removal | Check that all targeted junk is removed and obtain documentation for disposal, ensuring compliance and accountability. |
5. Communicate with Your Team | Keep staff informed about the removal schedule to avoid confusion and disruptions, creating a smoother process overall. |
Step 1: Assess Office Junk and Create a Removal Plan
Before you haul anything away, take time to understand what you’re working with. A clear assessment prevents wasted effort, identifies items worth salvaging, and helps you plan the most efficient removal approach. This step separates disorganized cleanouts from streamlined operations.
Start by walking through your entire office space and cataloging what needs to go. Don’t rush this part. Move through each room, closet, storage area, and corner systematically. You’re looking for furniture, equipment, files, broken appliances, outdated technology, and general clutter that’s taking up valuable real estate.
Create a simple inventory of what you find. You don’t need anything fancy here, just documentation that tracks item types and quantities. This becomes critical for planning removal logistics. Items like old filing cabinets, broken printers, and furniture take up different amounts of space than stacks of cardboard boxes.
Here’s what your inventory should capture:
Item type and condition (broken, working, partially damaged)
Estimated quantity or volume
Location within your office
Whether it could be sold, donated, or must be thrown away
Once you’ve documented everything, categorize items into groups. Some items may have salvage value, others can go to charities, and some belong in a landfill. Organizations often skip this step and lose money—or miss donation opportunities—because they didn’t sort first. Developing a systematic approach to inventory and categorization ensures you maximize both financial returns and charitable giving.
Here’s a comparison of common office junk removal destinations and their benefits:
Destination | Typical Items | Business Benefit | Environmental Impact |
Donation | Working computers, furniture | Supports charities, may provide tax deduction | Reduces landfill waste |
Recycling | Electronics, paper, metals | Meets compliance, shows sustainability | Conserves resources |
Landfill | Broken furniture, non-recyclable junk | Clears space quickly | Higher environmental footprint |
Resale | Valuable equipment, appliances | Recoups costs, minimizes loss | Encourages reuse |
Next, prioritize removal by impact on operations. What’s blocking access to critical areas? What’s causing safety hazards? What’s simply occupying space? Rank these accordingly so your removal plan tackles urgent items first.
With your inventory and categories in hand, create a removal schedule. Consider your office’s operating hours—will removal happen after hours or during scheduled downtime? How many items can realistically leave per day without disrupting workflow? For larger cleanouts, working with a professional service like Junk Dispatch means you can coordinate same-day removal that fits your schedule, keeping your team focused on business.
A solid assessment plan cuts removal time by up to 40 percent because you know exactly what’s leaving and when.
Pro tip: Take photos of each area before removal begins. You’ll have documentation of the space transformation, which helps justify the project to stakeholders and provides a before-and-after record for property management records.
Step 2: Schedule Junk Dispatch and Coordinate Logistics
Now that you know what’s leaving, it’s time to book your removal and plan the logistics. Scheduling isn’t just about picking a date—it’s about timing removal to minimize disruption and maximize efficiency. Getting this right keeps your office running smoothly while clearing the clutter.
Contact Junk Dispatch and provide your inventory details from Step 1. Be specific about item types, quantities, and access points to your office. The more information you give upfront, the more accurately your removal team can plan their approach. Junk Dispatch offers same-day removal options, which means you can often schedule within days rather than weeks.
When booking, discuss your office’s operational constraints. Do you need removal after 5 PM to avoid disrupting workflow? Are there specific days when certain areas must remain accessible? Professional removal teams like Junk Dispatch can work around your schedule, not the other way around.
Create a detailed timeline for removal day:
Confirm arrival time and which areas the crew will access first
Designate a contact person on your team to coordinate with the removal crew
Plan a staging area where items can be collected before removal
Arrange for doors or hallways to be clear and protected if necessary
Effective removal timeline planning ensures nothing gets missed and the process moves quickly. Assign someone from your team to be present during removal—not to hover, but to answer questions and handle any last-minute decisions about items.
Coordinate with your facilities or property management team as well. They may need to know when large items are being removed, especially if furniture or equipment affects building systems. Give everyone advance notice so there are no surprises.
Confirm the day before removal. A quick call to verify timing prevents missed appointments and keeps everything on track.
Coordinated scheduling reduces removal time by preventing confusion and keeping the crew focused on the job.
Pro tip: Clear the hallways and stairwells of obstacles the night before removal so the crew doesn’t waste time navigating around boxes and furniture—every minute saved is money saved.
Step 3: Prepare Workspace for Efficient Removal
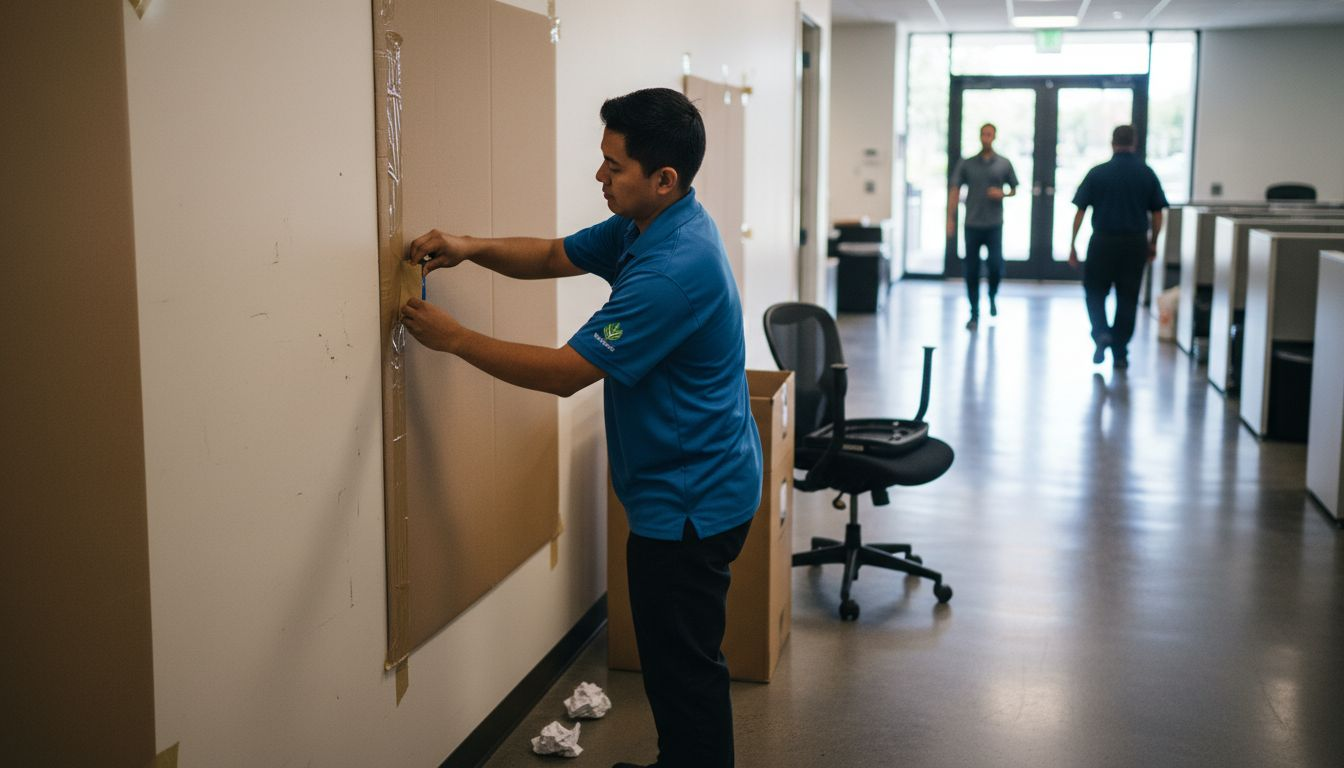
Prepping your space the right way makes removal day faster, safer, and less disruptive to your team. This step focuses on clearing pathways, protecting assets, and organizing the removal process so nothing gets damaged and nothing gets missed.
Start by clearing hallways and stairwells completely. Remove boxes, cables, furniture, and anything else that could slow down the crew or create safety hazards. Wide open pathways mean faster movement and fewer obstacles to navigate. Think about how large items will exit your building—does furniture need to go down narrow stairs or through tight doorways?
Protect floors and walls in high-traffic areas. If the removal crew will be moving items through carpeted spaces or past important equipment, lay down cardboard or protective coverings. This prevents scuffs, dents, and damage that could cost far more than the removal itself.
Clear the areas where items are currently stored. Move active work away from these zones so the crew has unobstructed access. If items are stacked in a corner office or storage closet, ensure the crew can reach them without disturbing ongoing work.
Prepare your workspace using these specific steps:
Move desks and equipment away from removal areas
Clear electrical cords and cables from pathways
Secure valuable items or sensitive documents in locked storage
Mark items with labels showing destination (donate, sell, recycle, discard)
Tape or remove light fixtures and decor that could get damaged
Create a staging zone near your exit point where items can be temporarily gathered before loading. This prevents multiple trips through office spaces and keeps disruption contained. Proper workspace organization and accessibility ensures the removal crew can work safely and efficiently without creating chaos.
Briefing your team matters too. Let everyone know removal is happening and which areas will be off-limits during the process. The more informed your staff is, the fewer interruptions and questions the crew will face.
A well-prepared workspace cuts removal time in half because the crew stays focused instead of moving obstacles and navigating around people.
Pro tip: Document valuable items or furniture that should stay behind with photos before removal day, so there’s zero confusion about what’s leaving versus what’s staying in your office.
Step 4: Verify Service Completion and Responsible Disposal
Once removal is complete, verification ensures everything was handled correctly and disposed of responsibly. This final step gives you peace of mind and confirms your office is truly clean. Taking time to verify also protects your business from liability and environmental concerns.
Walk through your office with the removal crew before they leave. Check that all marked items are gone and nothing was accidentally missed or removed by mistake. Take photos of the cleared spaces as your before-and-after documentation. This creates a record you can share with management or use for property records.
Ask the removal team for proof of disposal. Responsible junk removal companies like Junk Dispatch handle items properly—some get recycled, some donated, some responsibly disposed of at licensed facilities. Request documentation showing where items went and how they were handled. This matters especially for electronics, hazardous materials, or large furniture that requires proper disposal methods.
Verify the following before signing off:
All targeted items have been removed from the office
No damage occurred to floors, walls, or remaining equipment
The space is clean and ready for use
You received documentation of responsible disposal
The crew hauled away all debris and packing materials
Understanding service completion verification and compliance frameworks helps you confirm that your removal service meets professional standards. Junk Dispatch provides transparent documentation so you always know what happened to your office items.
Use this quick reference to verify completion and proper disposal after removal:
Step | What to Check | Why It Matters |
Item Removal | All targeted junk is gone | Prevents accidental retention |
Damage Inspection | Floors, walls, and equipment unharmed | Protects property from costly repairs |
Disposal Documentation | Receipts and proof from service provider | Ensures compliance and accountability |
Cleanliness | Spaces ready for occupation | Allows immediate business use |
Address any issues immediately if something doesn’t look right. Professional removal teams stand behind their work and will return to fix problems. Don’t accept substandard results just because the crew has left.
Finally, confirm the invoice matches your agreed-upon quote. Make sure there are no surprise charges or add-ons you didn’t authorize.
Verification protects your business by ensuring proper disposal, documenting the removal, and confirming nothing was damaged or left behind.
Pro tip: Request a written confirmation or receipt showing what items were removed, where they were disposed of, and the final completion date—this documentation protects you legally and helps with accounting records.
Simplify Your Office Junk Removal with Junk Dispatch
Clearing out office clutter can be overwhelming when you face multiple challenges like organizing junk, minimizing disruption, and ensuring responsible disposal. This article highlights the importance of a clear assessment, planned scheduling, workspace preparation, and verifying service completion. At Junk Dispatch, we understand these pain points and specialize in delivering fast, reliable, and eco-friendly office junk removal services tailored to your specific needs.

Take control of your office cleanouts with Junk Dispatch’s same-day removal, transparent pricing, and insured crews. Visit Junk Dispatch now and experience how our professional team streamlines your junk removal process from start to finish. Don’t wait—schedule your hassle-free office cleanout today and reclaim your workspace without disruptions.
Frequently Asked Questions
How can I assess what junk to remove from my office?
Start by systematically walking through your entire office space and creating an inventory of items that need to go. Document item types, conditions, and locations to prioritize effectively and maximize removal efficiency.
What should I include in my removal plan for office junk?
Your removal plan should detail the type of junk, its condition, and potential disposal methods, such as donation, recycling, or landfill. Categorize items accordingly to streamline the removal process and ensure nothing is overlooked.
How can I schedule junk removal without disrupting operations?
To minimize disruption, schedule removal during off-hours or designated downtimes. Coordinate with your removal team to confirm timing and access points, ensuring that critical areas remain accessible throughout the process.
What steps can I take to prepare my workspace for junk removal?
Clear hallways and storage areas, protect floors and walls, and label items to indicate their removal destinations. This preparation can cut removal time in half by creating an efficient and organized workspace for the removal crew.
How do I verify that junk removal was completed properly?
Conduct a thorough walkthrough of the office with the removal crew to ensure all targeted items have been taken and no damage occurred during removal. Request proof of disposal to confirm responsible handling of your office junk, protecting you from potential liabilities.
Recommended
Comments